Making ISOs Bootable for Lab Use
For When You Just Need It To Boot
So once again it’s lab season as I’ll be re-certifying in the CCNP Collaboration exam, as I don’t want to lose my CCNP Data Center/Collab and my CCNA Route/Switch and Wireless certifications. I definitely don’t want to run the gauntlet taking the exams again, even with the new cert system Cisco announced at Cisco Live! this year. With that said one of the troubles of setting up the lab (for me) is often getting my hands on a bootable image of UCM. Every time I try and make an image bootable using something like Ultra ISO, Magic ISO or similar tools there’s always a size limit (300MB) or some other issue that gets in the way of making the ISO image I do have on hand bootable.
Enter this solution, gracefully provided by a colleague years ago in order to alleviate such issues, and in lab-time fashion I have to dig through my resources to find the steps.
Disclaimer
- I did not create, and do not provide or host the cdrtools-latest.zip file, nor do I have any technical expertise in the tools beyond the below described usage.
- I am not responsible for what you do, or don’t do with the below information and tools. If this breaks the ISO, slaps your grandma, steals your car and bashes in some mailboxes or plain just doesn’t work – you accept responsibility.
- Use of such tools is for LAB USE ONLY. I cannot attest to the performance of the install using this method, its efficacy or whether or not any rules that Cisco (or others) may have are being broken. As this is for lab use only and Cisco does not produce bootable images for this purpose (as far as I’ve found) I presume they don’t like it, but, it’s hard to get hands on experience for some folks otherwise so remember: THIS IS AT YOUR OWN RISK.
Now that that’s out of the way, let’s move on to the quite simple steps in getting our ISO working for lab usage!
Making the UnBootable Bootable
Step 1
Step 2
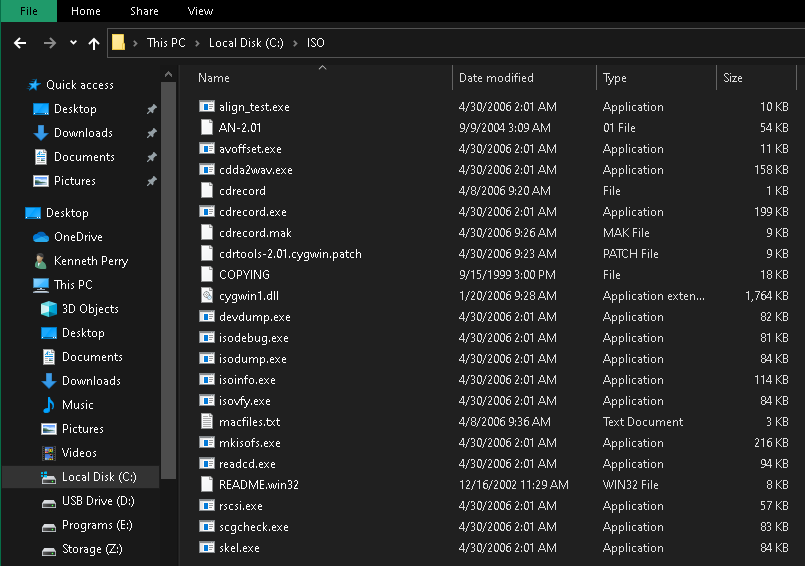
Step 3
Download your *.ISO Image, e.g. “UCSInstall_UCOS_12.5.1.11900-146.sgn.iso”
Step 4
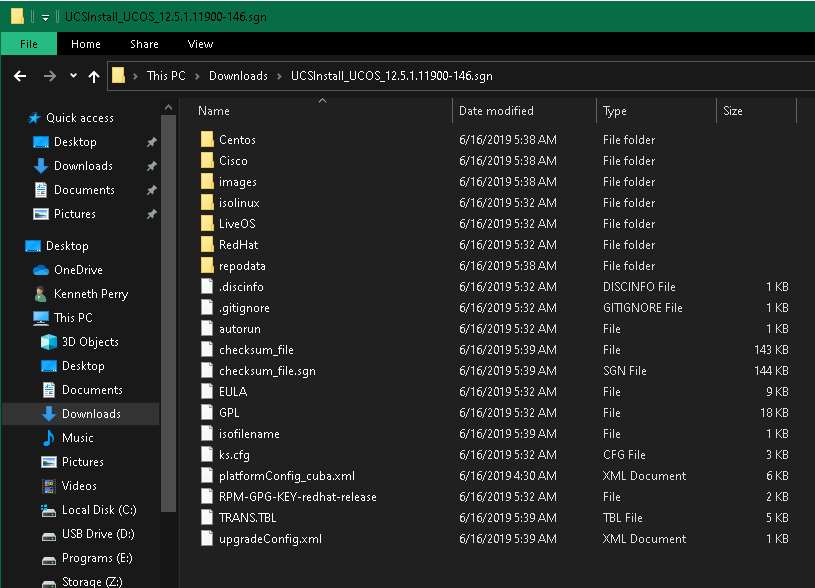
Step 5

Step 6
Issue the following command, invoking the mkisofs.exe executable from the cdrtools-latest toolset. With this we will modify the isolinux.bin and boot.cat files to allow us to make the *.ISO bootable.
C:\ISO\mkisofs.exe -A "CDROM" -V "CDROM" -p "Cisco" -J -R -r -v -T -b isolinux/isolinux.bin -c isolinux/boot.cat -no-emul-boot -boot-load-size 4 -boot-info-table -o C:\UCBootable_12.5.sgn.iso . <--- the . is required at the end.

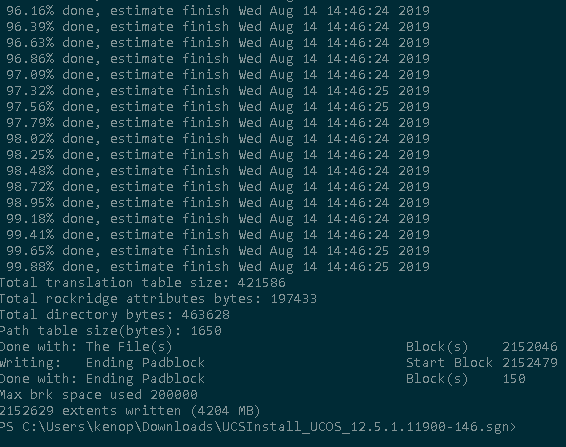
Output file:

Step 7
Mount the ISO and ensure it’s bootable. Clean up the unwanted loose files. (Optional).
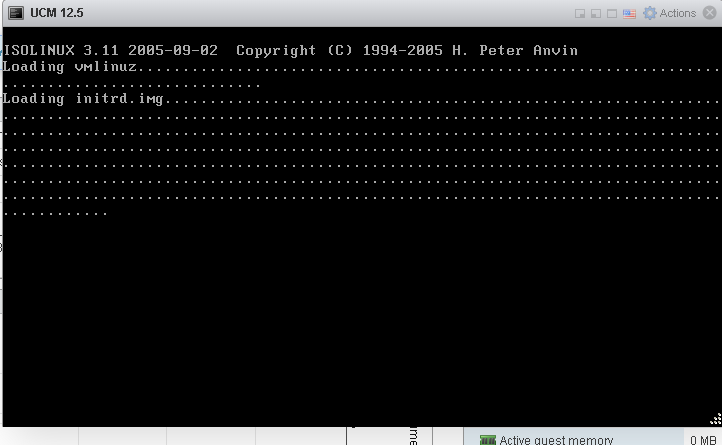
- Upload it to the datastore on your ESXi host, deploy the OVA template for the smallest option for CUCM, then point it to the UCBootable_12.5.sgn.iso image in the datastore and confirm if it booted to the installer.
Voila - IT LIVES!
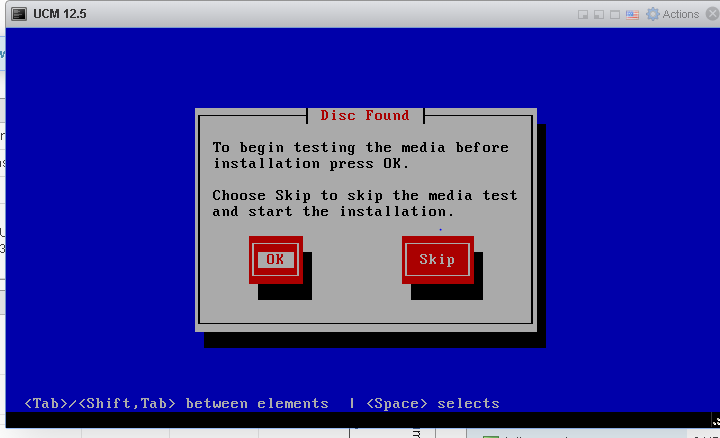
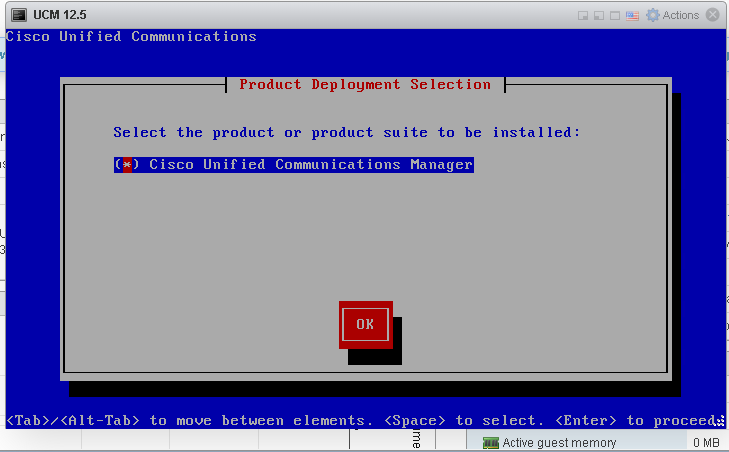
Now there is another step we could take, which is to modify the contents of the ISO image before re-containerizing it in order to remove the checks it performs to say “Does the presented hardware combination meet our requirements” to allow us to trim down even further what resources must be allocated for install, for ultra-thin LAB deployments. I’ll explore that in another post, as it’s not really a requirement and more a nice-to-have for those seeking the maximum bang for their buck when it comes to resource availability.
As usual, I hope this was informative or in some way helpful. I know this method has been provided elsewhere, as I mentioned this was given to me by a colleague – I’m sure he found it online, got it from a friend/colleague in an email or similar. My job is to help spread the love, information, and resources to get us learning with as little “getcha’s” as possible!
Follow me on Twitter (@kperryuc), on LinkedIn, or leave like and comment! Do you prefer to use a GUI tool like Magic ISO over command line tools? Do you have an even more simple/fool proof method? Let me know! Thank you for reading, and enjoy your day!